


Lass uns dein Meeting Owl 5 Pro einrichten
Wählen Sie die Einrichtungsart aus, die am besten zu Ihrem Besprechungsraum passt.


BYOD-Einrichtung
Das BYOD-Setup eignet sich am besten für flexible Besprechungsräume, in denen Nutzer Meetings von ihrem eigenen Laptop aus beitreten oder sie hosten. Die HDMI-Passthrough-Funktion der Meeting Owl 5 Pro ermöglicht es Ihnen, Meetings schnell und einfach mit zuverlässiger Ton- und Videoqualität sowie einer stabilen Verbindung zum Display im Raum zu starten – indem Sie einfach das USB-Kabel der Owl an Ihren Laptop anschließen.

Auspacken und Bestandsaufnahme
Lege den Inhalt des Kartons vorsichtig auf eine Tischplatte, damit du während des Aufbaus bequem arbeiten kannst.

Was ist in der Box?
Meeting Owl 5 Pro
Privacy Cap (Kameraabdeckung)
Untere Abdeckung
Adapter für Netzteile
Stromkabel
SuperSpeed USB-C-Kabel
HighSpeed-USB-A-Kabel*
HDMI-Kabel
Leitfaden
*Für diesen Setup-Typ nicht erforderlich – beiseitelegen.
Finden Sie die perfekte Positionierung
Stellen Sie die Meeting Owl für ein optimales Erlebnis in die Mitte Ihres Tisches.
Um eine optimale Audio- und Videoleistung zu gewährleisten, sollte die Owl mindestens 1,2 m von Wänden oder Fernsehern und höchstens 3 m vom am weitesten entfernten Sitzungsteilnehmer entfernt sein.
Falls zusätzliche Reichweite benötigt wird, empfehlen wir die Kombination mit einer zweiten Meeting Owl 5 Pro für eine vollständige Audio- und Videoabdeckung.

Entfernen Sie die Unterabdeckung.
Drehen Sie Ihre Owl um und schrauben Sie den unteren Deckel mit dem klappbaren D-Ring ab.
Vorsicht: Achten Sie darauf, das Objektiv nicht zu berühren oder zu zerkratzen.

Schritt 4: An die Stromversorgung anschließen
Auf der Unterseite der Owl steckst du das Stromkabel in den POWER-Anschluss und schließt anschließend das Netzteil an eine Steckdose an.
Die LED neben dem Anschluss sollte grün leuchten, was eine erfolgreiche Verbindung anzeigt.
Schritt 5: Stecke das USB-Kabel ein
Stecke das SuperSpeed-USB-C-Kabel in den USB-C-Anschluss der Owl.
Benutzer müssen dieses Kabel in ihre Laptops einstecken, um die Owl in Meetings zu verwenden. Stelle daher sicher, dass es auf oder um den Tisch leicht zugänglich ist, um ein Plug-and-Play-Erlebnis zu ermöglichen.

Schritt 6: Mit Ethernet verbinden (optional)
Wir empfehlen, deine Owl mit Ethernet zu verbinden, um eine stabile und zuverlässige Netzwerkverbindung zu gewährleisten. Die WLAN-Einrichtung kann über die Meeting Owl App abgeschlossen werden.
Um eine Verbindung zu Ethernet herzustellen, stecke ein Ethernet-Kabel in den NETWORK-Anschluss der Owl und vervollständige dann die Verbindung mit deinem Ethernet-Wandanschluss.
Schritt 7: HDMI-Passthrough einrichten (Optional)
Für das beste Endnutzerlebnis empfehlen wir die Funktion HDMI Passthrough der Owl, die das Weitergeben von Inhalten vom Laptop zu einem Fernseher über ein Einzelkabel zur Meeting Owl 5 Pro ermöglicht.
Um HDMI-Passthrough einzurichten, stecke das mit „Display“ gekennzeichnete Ende des mitgelieferten HDMI-Kabels in deinen Fernseher im Zimmer und stecke dann das andere Ende in den HDMI-OUT-Anschluss der Owl.
Erinnerung: Prüfen Sie das USB-Kabel Ihrer Owl – HDMI-Durchleitung erfordert das SuperSpeed USB-C-zu-USB-C-Kabel, um ordnungsgemäß zu funktionieren.

Schritt 8: Kabel verlegen und prüfen
Vervollständige die Kabelverbindungen, indem du jedes Kabel durch den entsprechenden Haltekanal an der Unterseite der Meeting Owl führst und jede Verbindung doppelt überprüfst.
Tipp: Die Nutzung der Haltekanäle verhindert lose oder ungesicherte Kabelanschlüsse.
Schritt 9: Sichere die untere Abdeckung
Bringe die Bodenabdeckung mit der D-Ring-Schraube wieder an und stelle die Owl dann auf deinen Tisch.
Laden Sie die App herunter
Folgen Sie den Registrierungshinweisen in der Meeting Owl App, um die Einrichtung abzuschließen und die Funktionen Ihrer Owl freizuschalten, darunter:
Verbinden Sie Ihre Owl mit WLAN (falls zutreffend).
Führen Sie eine Softwareaktualisierung durch.
Registrieren Sie sich im Nest für die Geräteverwaltung aus der Ferne.
Passen Sie die Audio- und Videoeinstellungen der Owl an.

Beginne dein erstes Meeting
Herzlichen Glückwunsch, Ihre Meeting Owl 5 Pro ist einsatzbereit! Um die Owl in Meetings zu benutzen, nehmen Sie einfach Ihren Laptop und folgen Sie den folgenden Schritten.

Führe einen Besprechungstest durch
Schließe das USB-Kabel der Owl an deinen Computer an.
Beginne ein Meeting auf deiner bevorzugten Videokonferenzplattform oder nimm daran teil.
Wähle die Meeting Owl als deine Kamera, Sprecher und Mikrofon in deiner Meeting-Plattform.
Meetings auf deinem Fernseher anzeigen
Um Ihr Meeting auf einem Fernseher anzuzeigen, können Sie entweder die HDMI Passthrough der Owl für eine einfache Einzelkabelverbindung nutzen (empfohlen) oder sich in der gewohnten Weise von Ihrem Laptop aus verbinden, wie z. B. per HDMI-Kabel oder Bildschirmübertragung.
Entdecken Sie weitere Funktionen der Meeting Owl
USB-Peripheriegeräte-Setup
Die USB-Peripheriegeräte-Setup ist am besten für Besprechungsräume geeignet, die mit dedizierter Hardware ausgestattet sind, die Meetings hostet und steuert, wie Microsoft Teams Rooms, Zoom Rooms, ClickShare Hubs und mehr. In dieser Konfiguration verbindet sich die Meeting Owl 5 Pro als „peripheres“ Gerät mit dem Raumsystem und liefert während Meetings zuverlässig Ton und Video an den Computer im Raum.

Auspacken und Bestandsaufnahme
Lege den Inhalt des Kartons vorsichtig auf eine Tischplatte, damit du während des Aufbaus bequem arbeiten kannst.
Was ist in der Box?
Meeting Owl 5 Pro
Privacy Cap (Kameraabdeckung)
Untere Abdeckung
Adapter für Netzteile
Stromkabel
SuperSpeed USB-C-Kabel*
HighSpeed-USB-A-Kabel
HDMI-Kabel*
Leitfaden
*Wird in dieser Konfiguration nicht verwendet – beiseitelegen.
Finden Sie die perfekte Positionierung
Stellen Sie die Meeting Owl für ein optimales Erlebnis in die Mitte Ihres Tisches.
Um eine optimale Audio- und Videoleistung zu gewährleisten, sollte die Owl mindestens 1,2 m von Wänden oder Fernsehern und höchstens 3 m vom am weitesten entfernten Sitzungsteilnehmer entfernt sein.
Falls zusätzliche Reichweite benötigt wird, empfehlen wir die Kombination mit einer zweiten Meeting Owl 5 Pro für eine vollständige Audio- und Videoabdeckung.

Entfernen Sie die Unterabdeckung.
Drehen Sie Ihre Owl um und schrauben Sie den unteren Deckel mit dem klappbaren D-Ring ab.
Vorsicht: Achten Sie darauf, das Objektiv nicht zu berühren oder zu zerkratzen.

Schritt 4: An die Stromversorgung anschließen
Auf der Unterseite der Owl steckst du das Stromkabel in den POWER-Anschluss und schließt anschließend das Netzteil an eine Steckdose an.
Die LED neben dem Anschluss sollte grün leuchten, was eine erfolgreiche Verbindung anzeigt.
Schritt 5: Stecke das USB-Kabel ein
Stecke das USB-C-Ende des HighSpeed-Kabels in den USB-C-Anschluss der Owl. Verbinde dann das USB-A-Ende mit dem Rechner deines Zimmersystems.

Schritt 6: Verbinden mit Ethernet (optional)
Wir empfehlen dringend, deine Owl mit Ethernet zu verbinden, um eine stabile und zuverlässige Netzwerkverbindung zu gewährleisten. Alternativ kann die WLAN-Einrichtung über die Meeting Owl App abgeschlossen werden.
Um eine Verbindung zu Ethernet herzustellen, stecke ein Ethernet-Kabel in den NETWORK-Anschluss der Owl und vervollständige dann die Verbindung an deinen Ethernet-Wandanschluss.

Schritt 7: Kabel verlegen und überprüfen
Vervollständige die Kabelverbindungen, indem du jedes Kabel durch den entsprechenden Haltekanal an der Unterseite der Meeting Owl führst und jede Verbindung doppelt überprüfst.
Tipp: Die Nutzung der Haltekanäle verhindert lose oder ungesicherte Kabelanschlüsse.
Schritt 8: Sichere die untere Abdeckung
Bringe die Bodenabdeckung mit der D-Ring-Schraube wieder an und stelle die Owl dann auf deinen Tisch.
Laden Sie die App herunter
Folgen Sie den Registrierungshinweisen in der Meeting Owl App, um die Features Ihrer Owl freizuschalten, einschließlich:
Verbinden Sie Ihre Owl mit WLAN (falls zutreffend).
Führen Sie eine Softwareaktualisierung durch.
Registrieren Sie sich im Nest für die Geräteverwaltung aus der Ferne.
Passen Sie die Audio- und Videoeinstellungen der Owl an.
Beginne dein erstes Meeting
Herzlichen Glückwunsch, Ihre Meeting Owl 5 Pro ist einsatzbereit! Um Ihre Owl in Meetings einzusetzen, folgen Sie den untenstehenden Anweisungen.
Führe einen Besprechungstest durch
Starte deine Meetings wie gewohnt über das verbundene Raumsystem, und vergewissere dich, dass die Meeting Owl auf der Plattform als deine Kamera, dein Sprecher und dein Mikrofon ausgewählt ist.
Entdecken Sie weitere Funktionen der Meeting Owl
Erweitern Sie Ihre Reichweite mit Kopplungsoptionen
Die Meeting Owl 5 Pro-Geräte können miteinander gekoppelt werden, um eine größere Abdeckung in größeren Besprechungsräumen zu gewährleisten. Der Meeting Owl 5 Pro kann über eine kabelgebundene oder drahtlose Verbindung mit einem anderen Meeting Owl 5 Pro gekoppelt werden.


Zubehör
Erweitern Sie Ihr Meeting Owl-Setup mit kompatiblen Erweiterungen und Raumzubehör.

Expansion Mic
Erweiterte Reichweite der Audioaufnahme um 2,5 Meter, damit alle Personen an längeren Tischen deutlich verstanden werden.

USB-C to USB-A Cable (16'/5M)
Unser 5 Meter langes USB-Verlängerungskabel eignet sich für größere Räume und Konfigurationen. Kompatibel mit der Meeting Owl® 3.
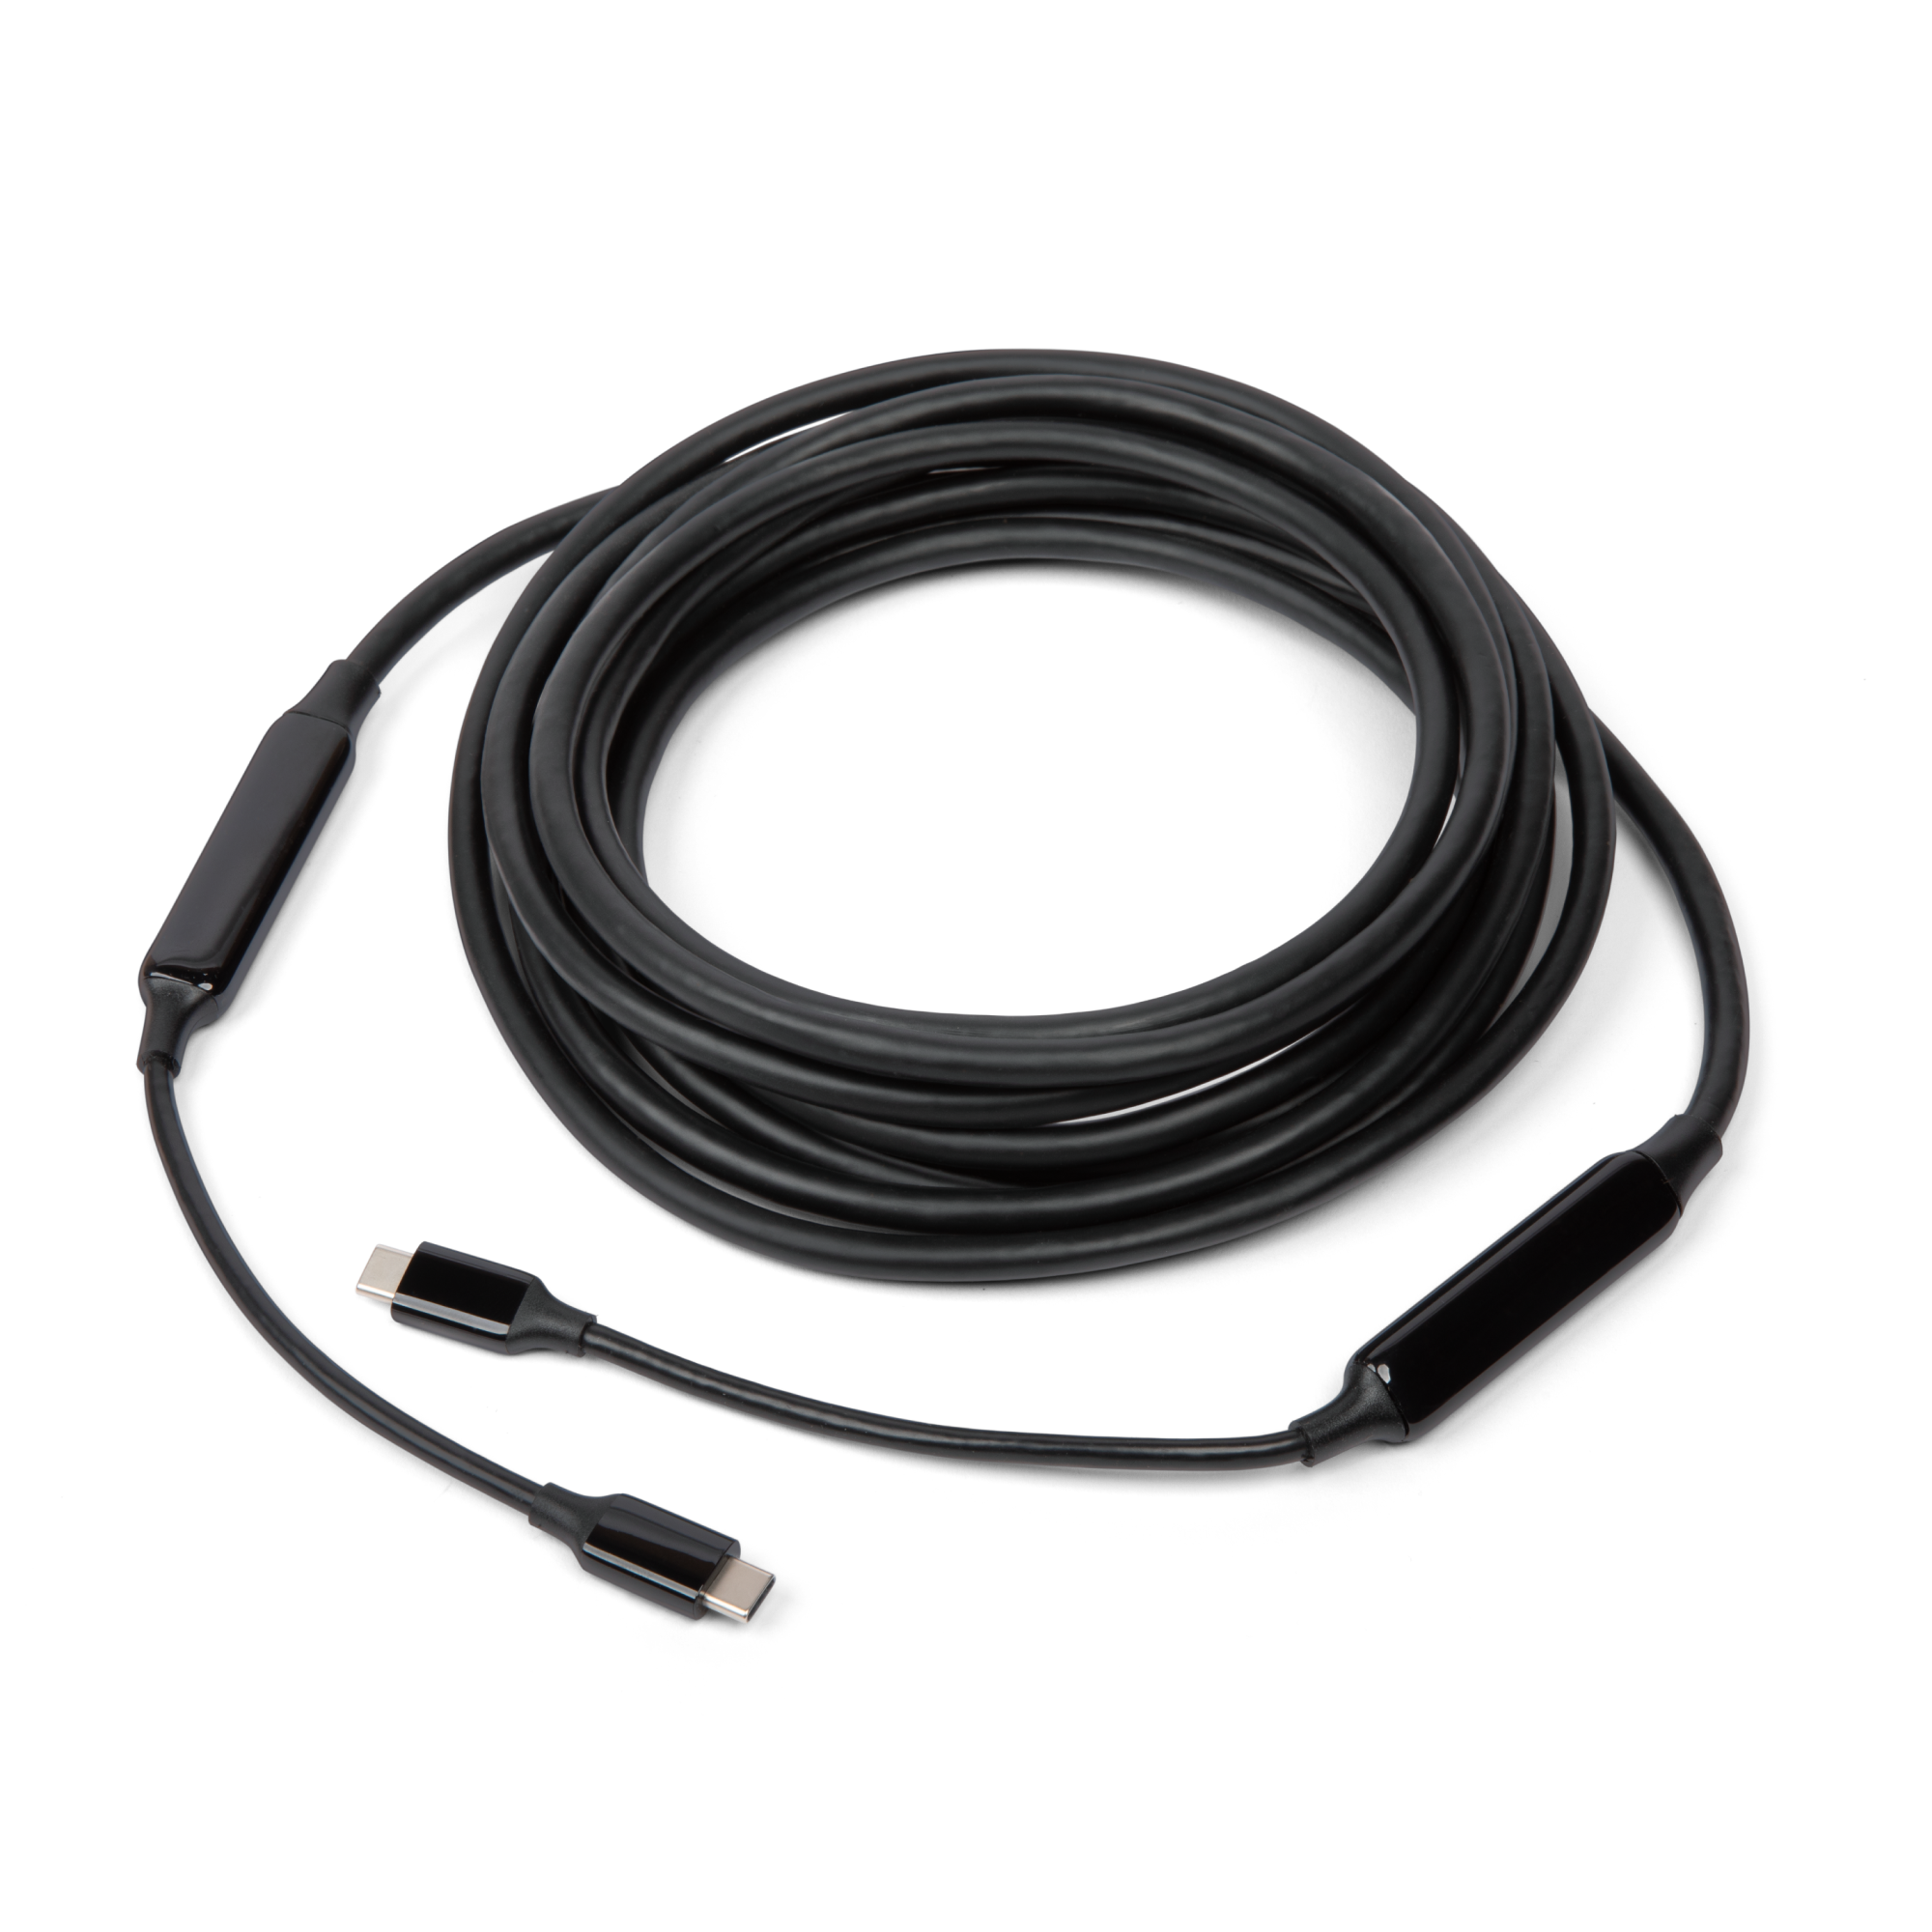
USB-C-zu-USB-C-SuperSpeed-Kabel, 5 m/16 Fuß
Unser 5 Meter (16 Fuß) langes USB-C-Kabel eignet sich für größere Räume und Konfigurationen. Kompatibel mit der Meeting Owl 3, Meeting Owl 4+ und Meeting Owl 5 Pro.

Meeting Owl-Stativ
Positionieren Sie Ihre Meeting Owl auf stabile und gleichzeitig flexible Weise in Klassenräumen, auf U-förmigen Tischen und in anderen dynamischen Umgebungen.